Build a Booster app in minutes
In this section, we will go through all the necessary steps to have the backend up and running for a blog application in just a few minutes.
Before starting, make sure to have Booster CLI installed. If you also want to deploy your application to your cloud provider, check out the Provider configuration section.
1. Create the project
First of all, we will use the Booster CLI tool generators to create a project.
In your favourite terminal, run this command boost new:project boosted-blog and follow
the instructions. After some prompted questions, the CLI will ask you to select one of the available providers to set up as the main provider that will be used.
? What's the package name of your provider infrastructure library? (Use arrow keys)
  @boostercloud/framework-provider-azure (Azure)
❯ @boostercloud/framework-provider-aws (AWS) - Deprecated
  Other
When asked for the provider, select AWS as that is what we have configured here for the example. You can use another provider if you want, or add more providers once you have created the project.
If you don't know what provider you are going to use, and you just want to execute your Booster application locally, you can select one and change it later!
After choosing your provider, you will see your project generated!:
> boost new:project boosted-blog

...

ℹ boost new 🚧
✔ Creating project root
✔ Generating config files
✔ Installing dependencies
ℹ Project generated!
If you prefer to create the project with default parameters, you can run the command as boost new:project booster-blog --default. The default
parameters are as follows:
- Project name: The one provided when running the command, in this case "booster-blog"
- Provider: AWS
- Description, author, homepage and repository: ""
- License: MIT
- Version: 0.1.0
In case you want to specify each parameter without following the instructions, you can use the following flags with this structure <flag>=<parameter>.
| Flag | Short version | Description |
|---|---|---|
--homepage | -H | The website of this project |
--author | -a | Author of this project |
--description | -d | A short description |
--license | -l | License used in this project |
--providerPackageName | -p | Package name implementing the cloud provider integration where the application will be deployed |
--repository | -r | The URL of the repository |
--version | -v | The initial version |
Additionally, you can use the --skipInstall flag if you want to skip installing dependencies and the --skipGit flag in case you want to skip git initialization.
Booster CLI commands follow this structure:
boost <subcommand> [<flags>] [<parameters>]. Let's break down the command we have just executed:
boostis the Booster CLI executablenew:projectis the "subcommand" part. In this case, it is composed of two parts separated by a colon. The first part,new, means that we want to generate a new resource. The second part,project, indicates which kind of resource we are interested in. Other examples arenew:command,new:event, etc. We'll see a bunch of them later.boosted-blogis a "parameter" for the subcommandnew:project. Flags and parameters are optional and their meaning and shape depend on the subcommand you used. In this case, we are specifying the name of the project we are creating.
You can always use the --help flag to get all the available options for each cli command.
When finished, you'll see some scaffolding that has been generated. The project name will be the
project's root so cd into it:
cd boosted-blog
There you should have these files and directories already generated:
boosted-blog
├── .eslintignore
├── .gitignore
├── .eslintrc.js
├── .prettierrc.yaml
├── package-lock.json
├── package.json
├── src
│   ├── commands
│   ├── common
│   ├── config
│   │   └── config.ts
│   ├── entities
│   ├── events
│   ├── event-handlers
│   ├── read-models
│   └── index.ts
├── tsconfig.eslint.json
└── tsconfig.json
Now open the project in your favorite editor, e.g. Visual Studio Code.
2. First command
Commands define the input to our system, so we'll start by generating our first command to create posts. Use the command generator, while in the project's root directory, as follows:
boost new:command CreatePost --fields postId:UUID title:string content:string author:string
The new:command generator creates a create-post.ts file in the commands folder:
boosted-blog
└── src
    └── commands
        └── create-post.ts
As we mentioned before, commands are the input of our system. They're sent by the users of our application. When they are received you can validate its data, execute some business logic, and register one or more events. Therefore, we have to define two more things:
- Who is authorized to run this command.
- The events that it will trigger.
Booster allows you to define authorization strategies (we will cover that
later). Let's start by allowing anyone to send this command to our application.
To do that, open the file we have just generated and add the string 'all' to the
authorize parameter of the @Command decorator. Your CreatePost command should look like this:
@Command({
  authorize: 'all', // Specify authorized roles here. Use 'all' to authorize anyone
})
export class CreatePost {
  public constructor(
    readonly postId: UUID,
    readonly title: string,
    readonly content: string,
    readonly author: string
  ) {}

  public static async handle(command: CreatePost, register: Register): Promise<void> {
    register.events(/* YOUR EVENT HERE */)
  }
}
3. First event
Instead of creating, updating, or deleting objects, Booster stores data in the form of events.
They are records of facts and represent the source of truth. Let's generate an event called PostCreated
that will contain the initial post info:
boost new:event PostCreated --fields postId:UUID title:string content:string author:string
The new:event generator creates a new file under the src/events directory.
The name of the file is the name of the event:
boosted-blog
└── src
    └── events
        └── post-created.ts
All events in Booster must target an entity, so we need to implement an entityID
method. From there, we'll return the identifier of the post created, the field
postID. This identifier will be used later by Booster to build the final state
of the Post automatically. Edit the entityID method in events/post-created.ts
to return our postID:
// src/events/post-created.ts

@Event
export class PostCreated {
  public constructor(
    readonly postId: UUID,
    readonly title: string,
    readonly content: string,
    readonly author: string
  ) {}

  public entityID(): UUID {
    return this.postId
  }
}
Now that we have an event, we can edit the CreatePost command to emit it. Let's change
the command's handle method to look like this:
// src/commands/create-post.ts::handle
public static async handle(command: CreatePost, register: Register): Promise<void> {
  register.events(new PostCreated(command.postId, command.title, command.content, command.author))
}
Remember to import the event class correctly on the top of the file:
import { PostCreated } from '../events/post-created'
We can do any validation in the command handler before storing the event, for our
example, we'll just save the received data in the PostCreated event.
4. First entity
So far, our PostCreated event suggests we need a Post entity. Entities are a
representation of our system internal state. They are in charge of reducing (combining) all the events
with the same entityID. Let's generate our Post entity:
boost new:entity Post --fields title:string content:string author:string --reduces PostCreated
You should see now a new file called post.ts in the src/entities directory.
This time, besides using the --fields flag, we use the --reduces flag to specify the events the entity will reduce and, this way, produce the Post current state. The generator will create one reducer function for each event we have specified (only one in this case).
Reducer functions in Booster work similarly to the reduce callbacks in Javascript: they receive an event
and the current state of the entity, and returns the next version of the same entity.
In this case, when we receive a PostCreated event, we can just return a new Post entity copying the fields
from the event. There is no previous state of the Post as we are creating it for the first time:
// src/entities/post.ts
@Entity
export class Post {
  public constructor(public id: UUID, readonly title: string, readonly content: string, readonly author: string) {}

  @Reduces(PostCreated)
  public static reducePostCreated(event: PostCreated, currentPost?: Post): Post {
    return new Post(event.postId, event.title, event.content, event.author)
  }
}
Entities represent our domain model and can be queried from command or event handlers to make business decisions or enforcing business rules.
5. First read model
In a real application, we rarely want to make public our entire domain model (entities)
including all their fields. What is more, different users may have different views of the data depending
on their permissions or their use cases. That's the goal of ReadModels. Client applications can query or
subscribe to them.
Read models are projections of one or more entities into a new object that is reachable through the query and subscriptions APIs. Let's generate a PostReadModel that projects our
Post entity:
boost new:read-model PostReadModel --fields title:string author:string --projects Post:id
We have used a new flag, --projects, that allow us to specify the entities (can be many) the read model will
watch for changes. You might be wondering what is the :id after the entity name. That's the joinKey,
but you can forget about it now.
As you might guess, the read-model generator will create a file called
post-read-model.ts under src/read-models:
boosted-blog
└── src
    └── read-models
        └── post-read-model.ts
There are two things to do when creating a read model:
- Define who is authorized to query or subscribe it
- Add the logic of the projection functions, where you can filter, combine, etc., the entities fields.
While commands define the input to our system, read models define the output, and together they compound
the public API of a Booster application. Let's do the same we did in the command and authorize all to
query/subscribe the PostReadModel. Also, and for learning purposes, we will exclude the content field
from the Post entity, so it won't be returned when users request the read model.
Edit the post-read-model.ts file to look like this:
// src/read-models/post-read-model.ts
@ReadModel({
  authorize: 'all', // Specify authorized roles here. Use 'all' to authorize anyone
})
export class PostReadModel {
  public constructor(public id: UUID, readonly title: string, readonly author: string) {}

  @Projects(Post, 'id')
  public static projectPost(entity: Post, currentPostReadModel?: PostReadModel): ProjectionResult<PostReadModel> {
    return new PostReadModel(entity.id, entity.title, entity.author)
  }
}
6. Deployment
At this point, we've:
- Created a publicly accessible command
- Emitted an event as a mechanism to store data
- Reduced the event into an entity to have a representation of our internal state
- Projected the entity into a read model that is also publicly accessible.
With this, you already know the basics to build event-driven, CQRS-based applications with Booster.
You can check that code compiles correctly by running the build command:
boost build
You can also clean the compiled code by running:
boost clean
6.1 Running your application locally
Now, let's run our application to see it working. It is as simple as running:
boost start -e local
This will execute a local Express.js server and will try to expose it in port 3000. You can change the port by using the -p option:
boost start -e local -p 8080
6.2 Deploying to the cloud
Also, we can deploy our application to the cloud with no additional changes by running the deploy command:
boost deploy -e production
This is the Booster magic! ✨ When running the start or the deploy commands, Booster will handle the creation of all the resources, like Lambdas, API Gateway, and the "glue" between them; permissions, events, triggers, etc. It even creates a fully functional GraphQL API!
Deploy command automatically builds the project for you before performing updates in the cloud provider, so, build command it's not required beforehand.
With
-e productionwe are specifying which environment we want to deploy. We'll talk about them later.
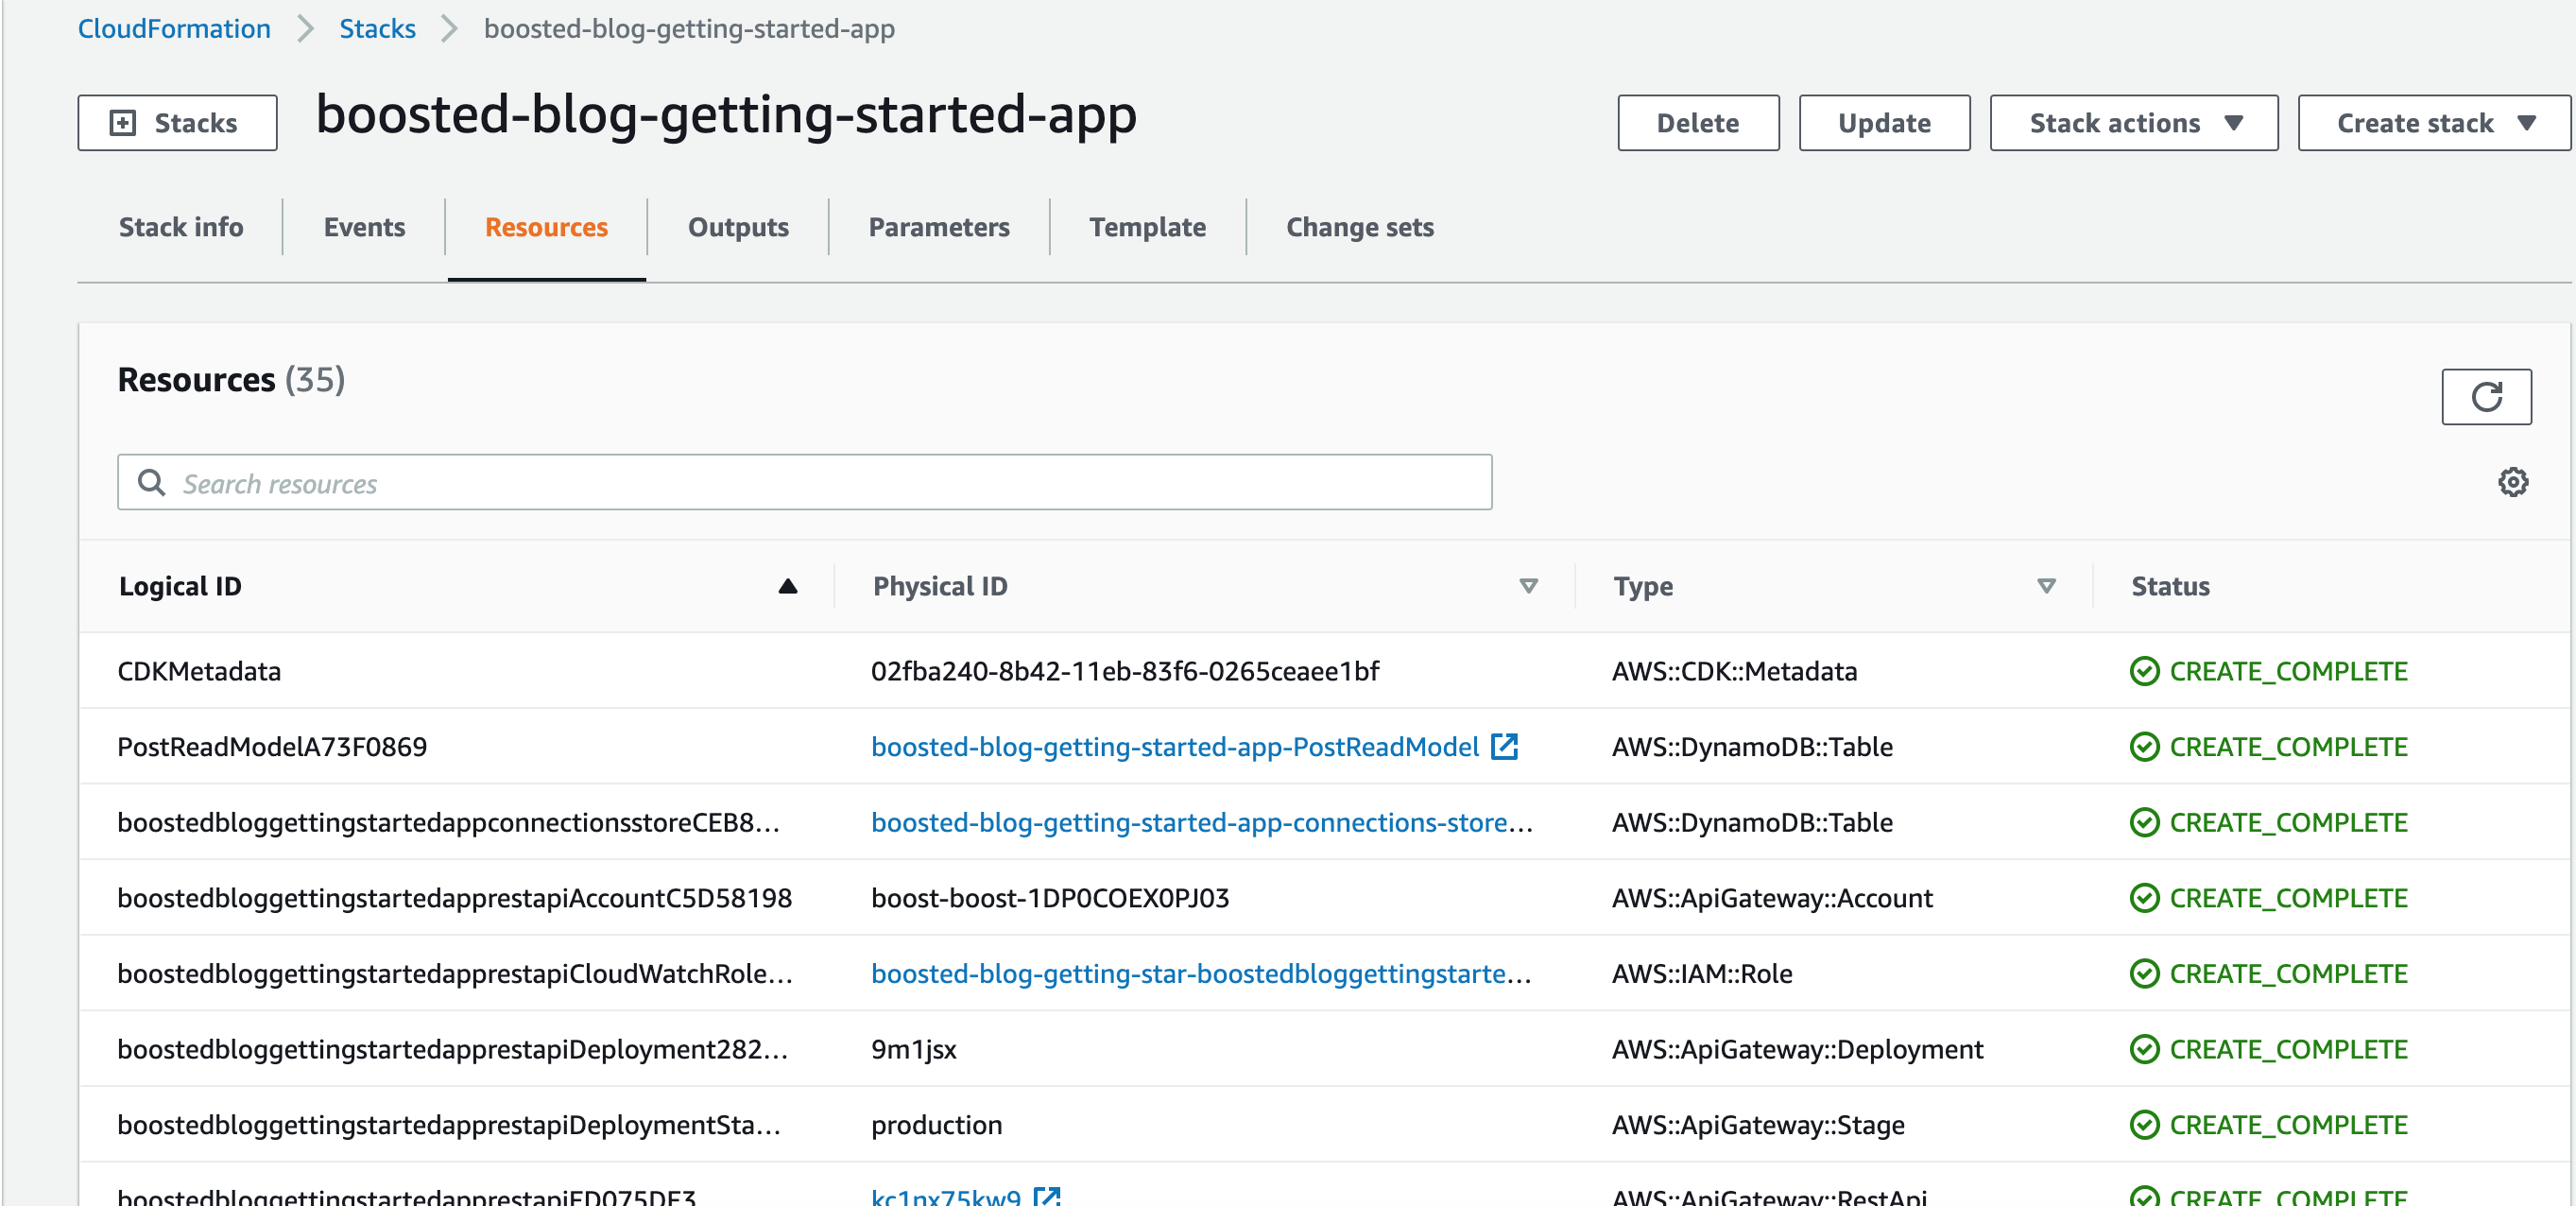
If at this point you still don’t believe everything is done, feel free to check in your provider’s console. You should see, as in the AWS example below, that the stack and all the services are up and running! It will be the same for other providers. 🚀
When deploying, it will take a couple of minutes to deploy all the resources. Once finished, you will see
information about your application endpoints and other outputs. For this example, we will
only need to pick the output ending in httpURL, e.g.:
https://<some random name>.execute-api.us-east-1.amazonaws.com/production
By default, the full error stack trace is send to a local file, ./errors.log. To see the full error stack trace directly from the console, use the --verbose flag.
7. Testing
Let's get started testing the project. We will perform three actions:
- Add a couple of posts
- Retrieve all posts
- Retrieve a specific post
Booster applications provide you with a GraphQL API out of the box. You send commands using mutations and get read models data using queries or subscriptions.
In this section, we will be sending requests by hand using the free Altair GraphQL client, which is very simple and straightforward for this guide. However, you can use any client you want. Your endpoint URL should look like this:
<httpURL>/graphql
7.1 Creating posts
Let's use two mutations to send two CreatePost commands.
mutation {
  CreatePost(
    input: {
      postId: "95ddb544-4a60-439f-a0e4-c57e806f2f6e"
      title: "Build a blog in 10 minutes with Booster"
      content: "I am so excited to write my first post"
      author: "Boosted developer"
    }
  )
}
mutation {
  CreatePost(
    input: {
      postId: "05670e55-fd31-490e-b585-3a0096db0412"
      title: "Booster framework rocks"
      content: "I am so excited for writing the second post"
      author: "Another boosted developer"
    }
  )
}
The expected response for each of those requests should be:
{
  "data": {
    "CreatePost": true
  }
}
In this example, the IDs are generated on the client-side. When running production applications consider adding validation for ID uniqueness. For this example, we have used a UUID generator
7.2 Retrieving all posts
Let's perform a GraphQL query that will be hitting our PostReadModel:
query {
  PostReadModels {
    id
    title
    author
  }
}
It should respond with something like:
{
  "data": {
    "PostReadModels": [
      {
        "id": "05670e55-fd31-490e-b585-3a0096db0412",
        "title": "Booster framework rocks",
        "author": "Another boosted developer"
      },
      {
        "id": "95ddb544-4a60-439f-a0e4-c57e806f2f6e",
        "title": "Build a blog in 10 minutes with Booster",
        "author": "Boosted developer"
      }
    ]
  }
}
7.3 Retrieving specific post
It is also possible to retrieve specific a Post by adding the id as input, e.g.:
query {
  PostReadModel(id: "95ddb544-4a60-439f-a0e4-c57e806f2f6e") {
    id
    title
    author
  }
}
You should get a response similar to this:
{
  "data": {
    "PostReadModel": {
      "id": "95ddb544-4a60-439f-a0e4-c57e806f2f6e",
      "title": "Build a blog in 10 minutes with Booster",
      "author": "Boosted developer"
    }
  }
}
8. Removing the stack
It is convenient to destroy all the infrastructure created after you stop using
it to avoid generating cloud resource costs. Execute the following command from
the root of the project. For safety reasons, you have to confirm this action by
writing the project's name, in our case boosted-blog that is the same used when
we run new:project CLI command.
> boost nuke -e production

? Please, enter the app name to confirm deletion of all resources: boosted-blog
Congratulations! You've built a serverless backend in less than 10 minutes. We hope you have enjoyed discovering the magic of the Booster Framework.
9. More functionalities
This is a really basic example of a Booster application. The are many other features Booster provides like:
- Use a more complex authorization schema for commands and read models based on user roles
- Use GraphQL subscriptions to get updates in real-time
- Make events trigger other events
- Deploy static content
- Reading entities within command handlers to apply domain-driven decisions
- And much more...
Continue reading to dig more. You've just scratched the surface of all the Booster capabilities!
Examples and walkthroughs
Creation of a question-asking application backend
In the following video, you will find how to create a backend for a question-asking application from scratch. This application would allow users to create questions and like them. This video goes from creating the project to incrementally deploying features in the application. You can find the code both for the frontend and the backend in this GitHub repo.
All the guides and examples
Check out the example apps repository to see Booster in use.